Wednesday 27 June 2012

redesigned head

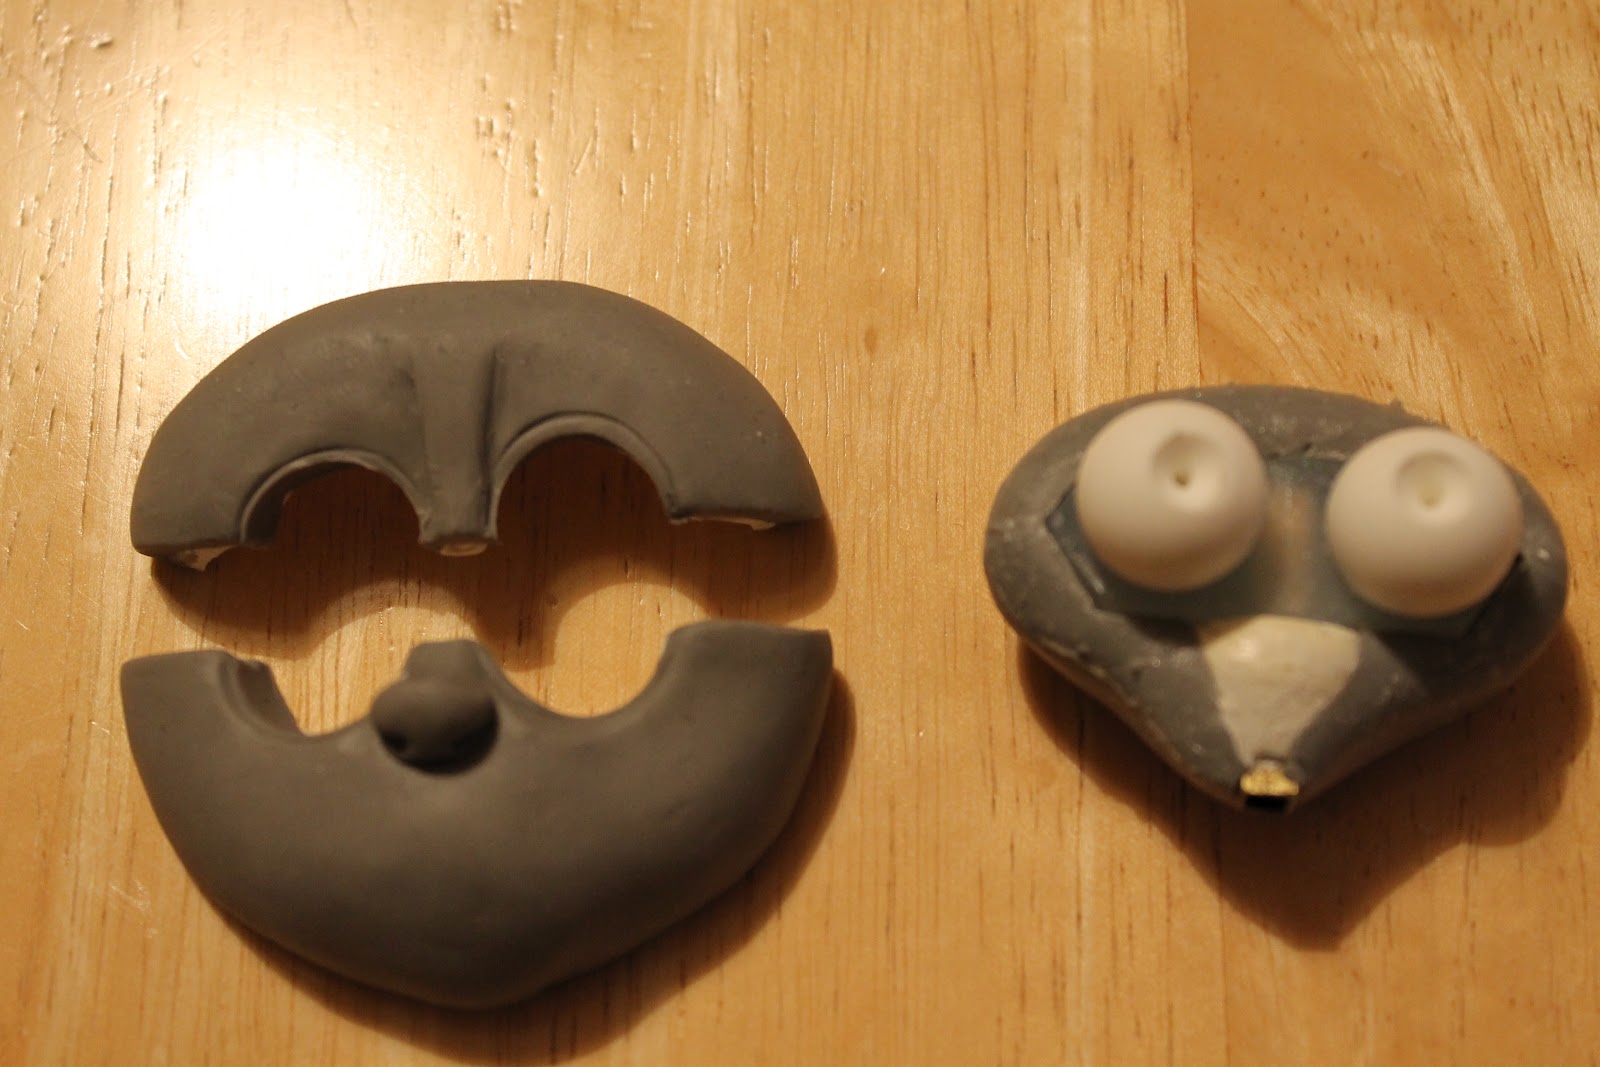
i didn't like the way the first face attached to the head, it was to wobbly and i thought it would be to wobbly even with magnets holding it in place. i basically started again, without remaking the head and core. i found it much easier this time as the back of the head and core were already hard and set in a permanent position, this made sculpting the mask much easier. i first sculpted the two halfs so they sat very snug to the core.


then, as seen below, i added a rim around the mask which is sculpted to the mask and meets the edges of the head/core.


i then did as i did before, sculpted onto the new masks.


you can see how the rim will actually become apart of the face and mask.


once both halfs were sculpted i carved out the teeth, i made them sit a bit higher up the face compared to the last one i made.


I'm really happy with this new head it locks on and they way its been sculpted allows it to sit only in one place, so no fiddling. i put it on the armature to see how it looks and i personally think it looks awesome. at the moment the head is really heavy but i hope once its cast in resin it will be much lighter.


next step is to cast it in resin then sculpt the mouth shapes, very exciting, I'm on a real buzz at the moment.

Saturday 16 June 2012

carry on of head and built in dentures

today i have been working on this head to try and get it finally finished. the pic below shows the hair roughly sculpted and placed on the head


to make the hair i rolled to balls of clay and then rolled them into a ski slope shape. below you can see what i mean


below you can see i have added some detail to the hair.


the pics below, i was looking at the face and thought there was something missing. i built up the nose to divide the eyes more 


these shots just show how the hair is attached to the core and how it will look when the face is removed.


once i was happy with the sculpt i made a little mouth to help pin point where i want the mouth to be positioned on the lower half of the face.


once i was happy with the positioning of the mouth, i basically cut it out and created this rather goofy, zombie looking mouth. the teeth will be permanently positioned in place as its only the lower jaw that moves.


i am really happy with the way its looking at the moment. I'm sure once i bake it, ill notice some faults. I'm worried the teeth are to low which will make the mouth look out of place on the face. once i have baked it i will then start making some mouth shapes along with eyebrow expressions. before i can do any of that i will need to cast the head and face masks in resin after baking.

Thursday 14 June 2012

head continued

i haven't done much more because i spent the day at my old university for the alumni skill set. i did do some more sculpting, its going a bit slowly because I'm trying to get it perfect-ish. the head now has a back to it and ears so its looking more like a head. i just need to add some hair and then add facial features. at the moment the clay is still soft, once the hair is on ill bake it along with the two halfs of the face.


as you can see from the second picture down, the back of the head is not quite level with the back of the forehead. when i add the hair it will be sculpted over and it will then be level, i hope. thats the theory.

Tuesday 12 June 2012

head under way


i have been working some more on the head and making the masks which will become the mouth replacements and extra expressions for the forehead. the below picture shows how far i have got, it still needs loads of work but its getting there.


from left to right- the two half's of the face, these are still soft, i will bake them once everything is ready.
the core with the silicone rubber inlay that helps hold the eyes in place.


the next step will be to sculpt the back of the head. this will consist of the hair and ears and will  be sculpted to the actual core so the two pieces will become one. from there i will make sure the two face parts fit nicely to the new core. then i will bake.


hope your liking the posts so far, more to come tomorrow i hope.

Friday 8 June 2012

head moquette

whilst i wait for things to dry, i had a little go at making a moquette of the boys head. its just to show where the best places are for the seams to be.

ok so these just basically show a rough size and shape i want.


you can see how the masks hold in the eyes by being sculpted just overlapping the eyes.


i have removed the top section to give an idea of where the seam line is.


bottom section removed.


this shows the eye cavities.

by doing this simple moquette it has shown me where i  will split the sections and create the seams.
its still early days but I'm already really happy with it, i can feel it all coming together, plus I'm getting to the good stuff.

Friday 1 June 2012

hand moulds part 1

ok, i have sculpted both hands now. before i started doing any moulding i put the hands in the freezer so that it hardens the plasticine. to start i always roll up little balls of clay and place them on the board your using for the base of the mould. below you can see i have started this process. 


once i covered the board with these balls, i placed the hands on top. the reason for making loads of balls is actually quite effective. when it comes to flipping over the first half of the mould to make the second half, you will need to remove all the clay. by rolling loads of balls this part is made easier.


once the area around the hands have been smoothed and the clay is pushed up tight to the sides of the hands, i started making the walls of the mould by using foam board. i also added two keys, these will help line up the mould when putting the two half's together. 


i gave the mould a couple of blasts of release agent, this will help separate the clay from the polyurethane, mixed up the plastic that comes in two ingredients, and poured it in, my first batch only just got over the top of the hands so i mixed a bit more up and poured it on, thats one of the good things about moulding with plastic. i hope it works.


drop me a comment if you have any questions, the next section will come when the polyurethane is set.